Wednesday, December 17, 2014

Snowman Mug Rug

I have been making mug rugs for all seasons.  This snowman mug rug measures roughly 8" square. 
 
Super simple to make.  Here are the instructions:
 
Cut  1 6" square white cotton for head
Cut 4 2 1/2" squares of background fabric for corners to make the head
Cut 2 1/2" strips of background fabric for the borders
Cut 1 backing fabric square same size as top
Cut 1 batting square same size as top and backing
Cut 1 triangle shape for nose in orange cotton
2 flat button eyes
 
Sew the squares on the diagonal to the white square for the head.  Trim away and press.  Do this to all four corners.  Sew the strips on to the top and bottom, trim.  Sew the strips to the sides, trim.  Press.
Position the nose and sew on using interfacing or bond a web and zig zag stitch.  Press and trim all sides to desired size.  Layer batting, backing (rsf) and top (rsd).  Sew along edges leaving an opening to turn.  Turn to right side and press lightly.  Topstitch along edges 1/8" and quilt as desired.  Position the eyes and sew on through all layers. 
Mincemeat
 
Christmas is just around the corner and I've been busy baking and decorating.  The Finnish Christmas bread is baked and I've made Peanut Butter Balls, Chocolate bark, and Seven Layer Bars in two different flavors.  Today I will make Mince Pies.  These are typically made the 12 days before Christmas and eaten everyday up to Christmas to bring good luck for the following 12 months.  I love mince pies and they can vary in taste.  Mine are homemade using good rum and good quality ingredients with butter instead of suet.   I want to share my Seven Layer Bar recipe here as it is a good candy type treat to give or have on hand when guests come calling. 
 
Seven Layer Bars
 
1 stick unsalted butter
1 1/2 cup crushed graham crackers
1 cup semi-sweet chocolate chips
1 cup peanut butter chips
1 cup sweetened shredded coconut
1 cup roughly chopped cashews
1 can sweetened condensed milk (I use fat free)
 
Preheat the oven to 350ºF.  In a 9"X13" pan add the stick of butter and place in the oven for a few minutes just until the butter melts.  Remove from the oven and pour in the crackers and even out the layer.  Next, sprinkle on the chips evenly.  Sprinkle on the coconut and the nuts.  Pour on the milk as evenly as you can covering the entire top.  Bake for 20-22 minutes until golden.  Remove from the oven and let cool completely before slicing into bars.  Store in an airtight container. 
 
You can vary the flavors by adjusting the chips and nuts.  I made bars using almonds, dried cherries, dried cranberries, white chocolate chips and semi-sweet chips.  They are awesome, if I do say so.  You could also try pistachios and white chocolate chips with dried cranberries.   
 
Have yourself a homemade Christmas.  Cheers.  ;o)


Thursday, August 21, 2014

Guild Quilt

My guild quilt is back from my long arm quilter, Juliet, and hanging in my hall.  She did an excellent job and I just love it. 
Guild blocks from May 2001.  Finished quilt August 2014.
Bottom half of the guild quilt.  Overall measures 6 foot square.
 
Detail of the edge to edge quilting design. 


This quilt may have taken me 13 years to get it together, but in the end it was well worth the wait. 
 
As you can see I am not the type that has to finish a project before moving on to the next.  I have a couple more UFO's in my pile and would ideally like to finish them by the end of the year. 
 
Some ideas I come up with can be pushed out in a few hours.  Like this one.
Sliding Puzzle Quilt

 
Remember those sliding picture or number puzzles when you were a kid?  I had small end cuts of decorator fabrics in these large funky patterns.  So, I thought why not cut them into squares and move them just far enough away from each other so the mind tells you, "hey these should move closer to make a single picture".  That's how this quilt was born.  It measures 19" square.   
 
I'm off to scour my UFO basket and see what my mind is ready to conquer today.  ;o)


Wednesday, July 9, 2014

Summer Flowers

 
Summer flowers are my favorite when they are in full bloom.  Roaming around the garden and taking time out of a busy day to take a few pictures, capturing their beauty before they fade away is my mission today. 


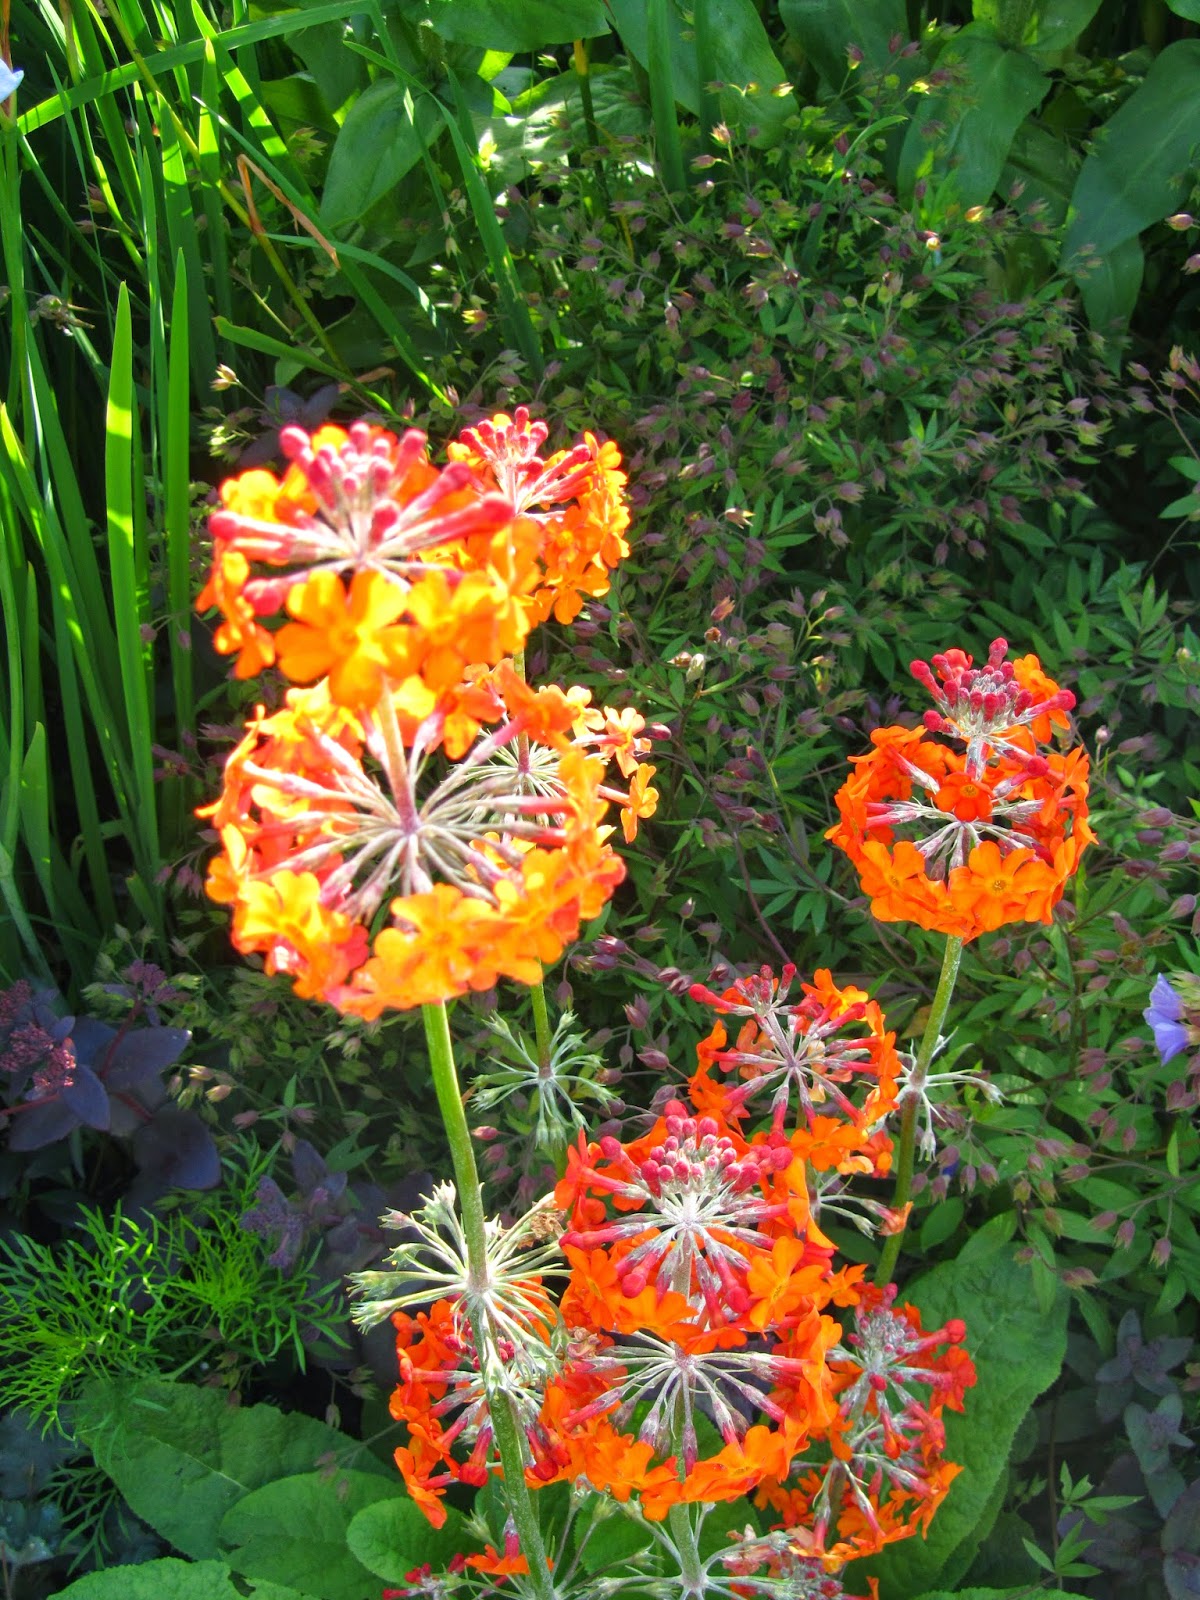
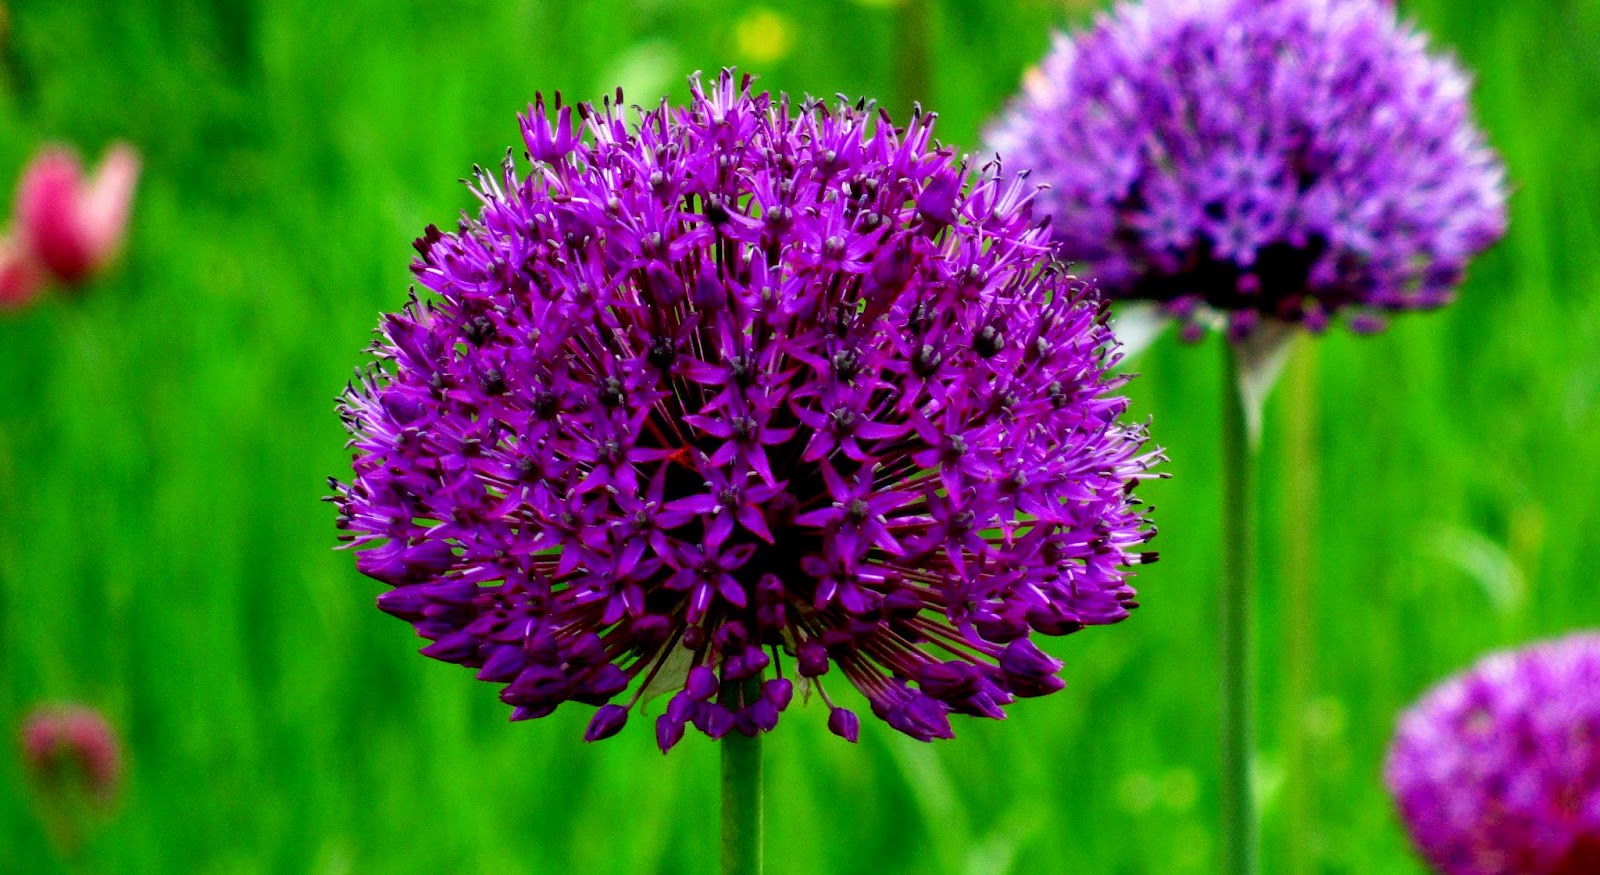
These were just adorable, though I do not know what they are.  Their colors were bright and cheerful almost like ice cream sorbet.  These combinations would make a lovely summer quilt. 
 
I think I will try out some improv techniques using the shapes of the summer flowers and the color combinations found here.  Now to scour my fabric stash to see if I can replicate them. 


Friday, June 27, 2014

Mug mats

Seems like mug mats are all the rage now in the quilting realm.  I've wanted to try the selvage technique for a few years and have decided to make mug mats using selvages.   Another new concept for me is to show you step by step through photos.  Usually I am so focused on finishing a project, I forget to take step by step photos so here is my attempt at the process.

MUG MATS - a how to

You will be sewing your selvage strips onto a foundation fabric.  This can be anything light colored like muslin, or a lightweight cotton.  Cut 4 squares 5.5" and set aside.   If you've already cut selvages to use at a later date....bravo!  If not, doesn't matter, go through your stash and choose some yardage that has a good looking selvage edges and cut the entire length about 1-2" from the edge.  This gives you a little bit of the pattern as well as all the writing and coding you want.   I've seen some selvages with ladybug coding that just looked precious.  Don't worry about the imperfections in the selvage, like the pin holes or dodgy print or writings, these things add character and the pin holes will not be noticed when you've completed the mats. 


Choose a strip to start and lay it on the diagonal in one corner of your foundation.  Press lightly, if needed.  I use my walking foot with the needle position on the second dot from the middle (Bernina 440).  Sew a straight stitch close to the edge or on this strip, I stitched on the white line of the selvage where the pattern meets the selvage.  As long as you catch some of the foundation edge, it's fine.  Now choose your second strip.  Lay it down deciding how much of the pattern you want to show, being sure to catch the first strip edge in the seam.  Sew as close to the edge as you can.

Press and turn back the second stip to expose the seam allowance, if there is excessive fabric, trim to just under 1/4" to reduce bulk.  Be sure you don't cut through the foundation square.   Now choose your third strip and place it next to the second, sew down, press, trim, etc... until you've covered the entire foundation square. 
 
Trim to 1/4" for seam allowance. 
 
 
Trim down to 5.25" square.  Choose your backing fabric and cut the same size.  Using Insul-Bright, cut one square 5.25".  Layer the squares to make your quilt sandwich and sew a scant 1/4" around entire edge leaving an opening to turn.
 
Order of stacking: Insul-Bright, backing fabric (RSU), Selvage front (RSD)
 

After you've sewn around all edges and before you turn RSO, trim all the edges and clip corners.
Now turn RSO and gently push corners out to make as sharp a point as you can. Press and turn in the open edge and press.  You really don't need to pin, just hold it and align this edge in your machine first.  Sew very close to the edge, about 1/8" all around.

 
After you've sewn around all outside edges, you can quilt the middle section as desired without stopping.  I just made diagonal lines following the selvage lines. Your finished mat measures 4.75".
Front side
Reverse side
Set of 4 with different reverse sides.
The perfect house warming gift!


Wednesday, June 11, 2014

Camera Case - How to

I use a small Canon Power Shot camera and want a camera case to keep it from scratching and getting dirty.
Camera cases are a hard thing to shop for.  They always seem to be too large and bulky, not to mention expensive for what they are.  So, I made one.  It only took about an hour to complete and uses scraps of fabric.  

Use an outer fabric and a contrasting fabric measuring just over the size of your camera adding a flap to fold over the top of the case.  Measure your batting or ByAnnies lining the same size.  Mine measured about 10"X6".  With the lining between the two fabrics, place on your machine and quilt as desired to the edges.  I used a basic grid pattern and purple thread.  

Determine where the Velcro will go and pin.  Sew down, one half of the Velcro on the outer fabric edge and the other half of the Velcro on the inside fabric flap edge.  Do not sew too close to the edges.

Next lay the camera on top of your sandwich and trim slightly, remember you will need about 1/2 inch all around for the side seams.  Fold outer fabric to the inside just about 1/2 way so there will be enough for a flap and your camera will fit inside.  Pin and sew up the side seams.  Turn right side out.  Trim  the flap so that the seams from the sides do not curl the flap and when folded it lays flat.  This is just a slight trim.  

Cut your binding on the bias.  I cut strips 2 1/2 inches wide. Sew strips together and iron.  Fold in half length-ways and iron.  Make the handle strap the same way only folding one more time and sewing down the edge to make a smooth fine finish.  Pin the edge of the bias onto the bag and carefully pin all around.  Place the handle strap edge inside the edge of the bias strip.  Sew down carefully.  I hand sewed the inside edge as I thought it was a little fiddly getting the bag in my machine.  Hand sewing can hide a multitude of mistakes, too.  Not that you will have any!  Viola, you're done!  


Thursday, May 29, 2014

Inspiration

Now for a little Inspiration....


Can you tell that I love flowers and plants, especially if they are dewy?  Now to get busy and create something wonderful....;o) 

Wednesday, May 14, 2014

UFO - Time to Quilt

I can finally say my UFO basket is shrinking.  I found the oldest project at the bottom and brought it to the top.  Thirteen years ago, I was given several blocks from the guild I belonged to as a good-bye gift.  The theme used was the surrounding area or nature.  All those creative ladies contributed blocks and signed them.  What a wonderful treasure to find after all these years.   I hadn't forgotten they were there, it just took me this long to figure out how to compose them in a quilt.
This top is not quite finished, though.  I want to frame it with a narrow border in the black.  My picture is wonky because it is stretched out on the floor of my studio.  It measures 72"X 72" at the moment without the border.  This was a challenging project, but not hair pulling or difficult, just time consuming. 

Already gearing up for the next oldest one in the UFO basket.  Yep, this Valentine top has been kicking around my studio for quite some time.  It is hanging in the corner of the studio just waiting...brewing in my mind. 
Previously, I mentioned adding a border with the words "Be my Valentine" only on the top and bottom.  Now, I am toying with the idea of adding words all around the outer border with some paper-pieced hearts to separate the wording.  When I place UFO's aside, I always put the remaining fabrics together with the blocks or top so I can easily pull it out and get back to it.   There are several scraps I can use in the border leftover.

I made a half dozen mug mats using the selvages from my scrap bag.  They all look wonderful scattered on my small glass top kitchen table.  (Ugh, blogger won't let me add any more pictures!!?)

So many quilts and projects I make look girly.  To remedy that, I try to think "what would my husband or son like"?   Not necessarily colors, but what elements or shapes would they like.  Then I think about colors and designs in fabric.  I was surprized to see my husband love a recent modern quilt I made using a geometric grid with lots of negative space, but the focus fabric had large-ish flowers all over.  I will blog about that one in the future.


Monday, April 28, 2014

April Showers Bring May Flowers

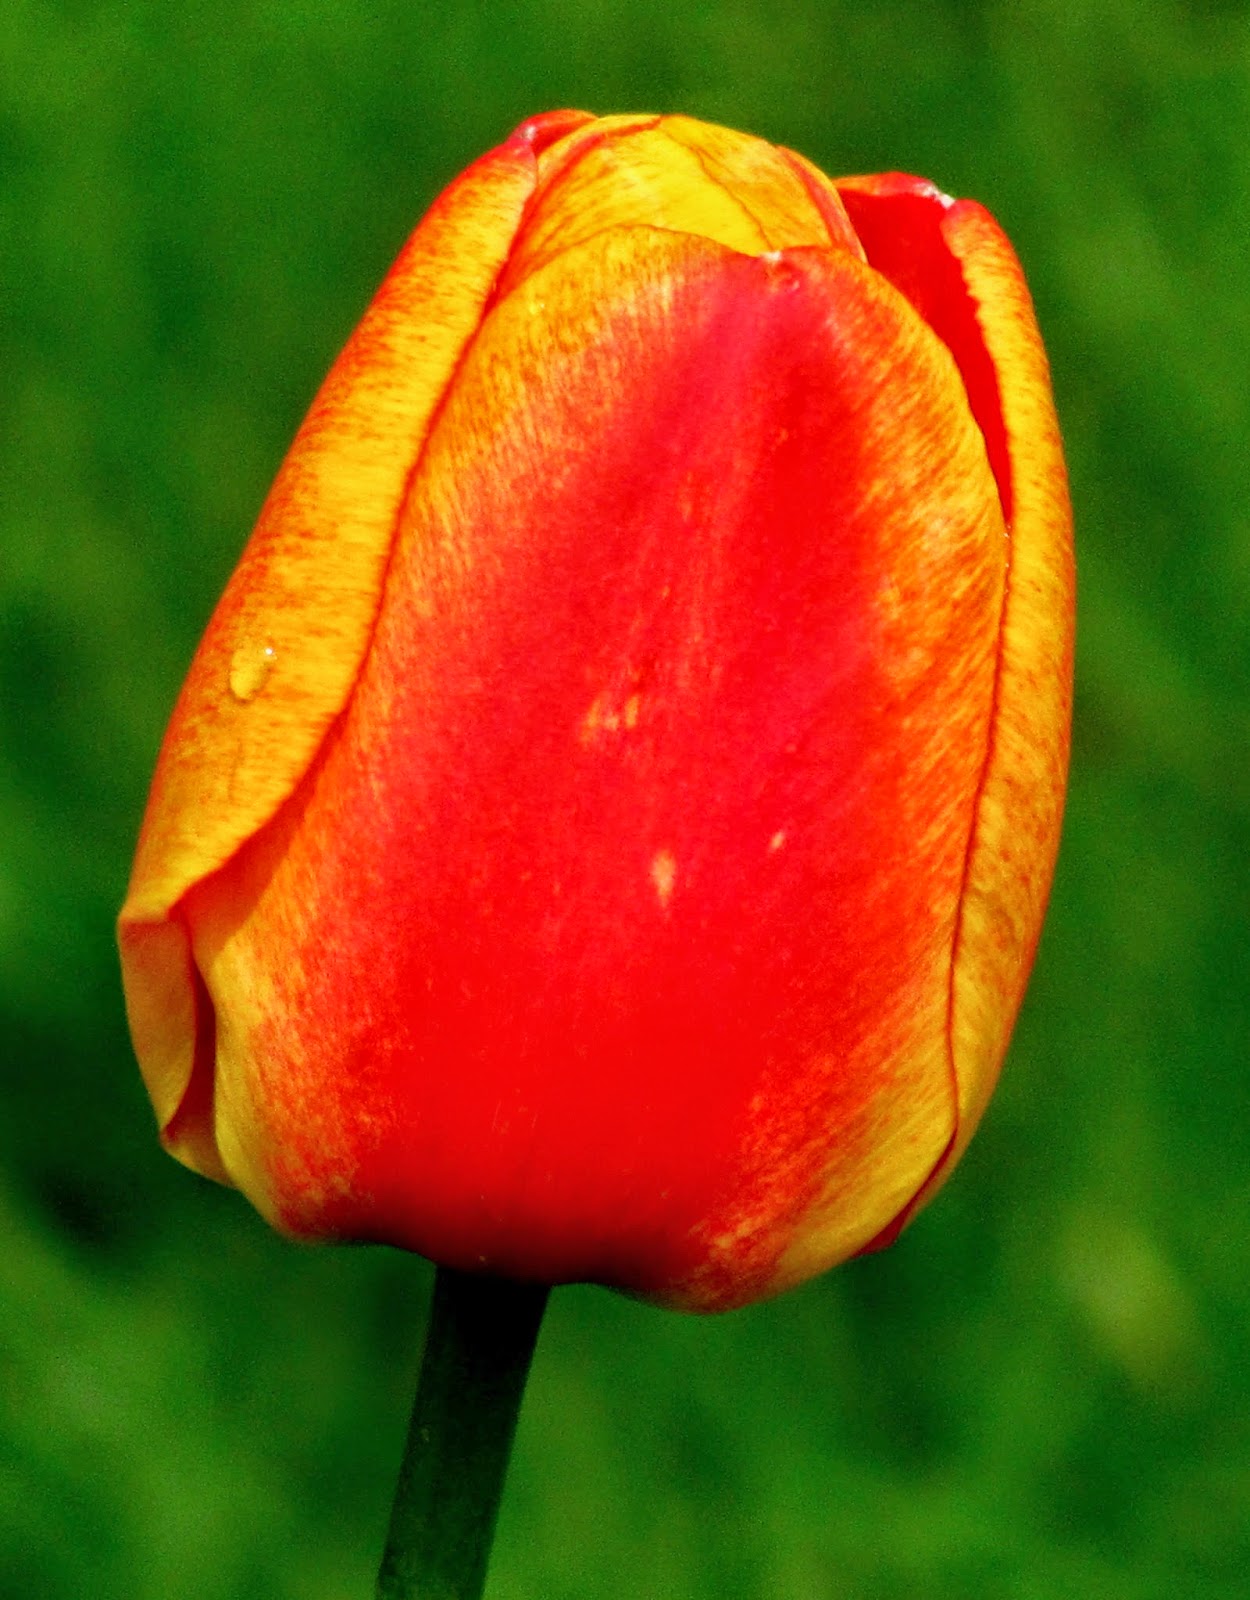
We've had some wet cold days lately.  I am surprized the flowers don't just stay in the ground sometimes.  But, they are tougher than I am, as I snuggle in my favorite chair bundled up with my cup of tea close to hand.   The sun broke through the clouds overhead and the tulips responded.


One of the ladies at my Friday group mentioned that one of our members is still struggling with shaking her bronchial infection and has been home in bed for the last 5 weeks.  So, I went home and being inspired by my garden's tulips, I made this postcard for her.  It is paper pieced with scraps and measures 5"X7".    The middle layer is fusible stiff vilene interfacing, quilted clear monopoly thread and then you fuse on the backing fabric (white so you can use pigma pen to write your message and address) and using zigzag stitch and polyester thread, stitch the outside edges.  Really easy.

We as a Nation, tend to celebrate everyday and call it National _ _ _ day.   So, today being Blueberry pie day, I made a pie.   Blueberry just happens to be  my favorite.
A few years ago, I bought the lattice pie cutter along with a metal pie saver ring to go on top to prevent over browning.  I use these tools everytime I make a pie and love them. 
Next month, May 13th, we will celebrate Apple pie day.  Love that, too.  You can bet I will be making a pie.   ;o) 

Catherine's Wheel

 I posted December 17, 2020 about making an ornament which is called prairie wheel (USA) or Catherine's Wheel (UK).  The latter being of...